Roll Marker Die Project
I decided I wanted to 'make my mark' on my fly rod butt caps, so I set about finding a company that made these roll dies for other makers. I found A.G. Russell, Co. in Hartford, CT who's online presence is http://www.stampitmarkitinc.com. You can see on their website a fly rod butt cap with JD Wagner's roll die image he had them make for him.


The cost of the roll die was quite reasonable.
After I got my roll die, my next project was to figure out how I was going to get the impression from the roll marker die onto my fly rod butt caps. Traditionally, I think many rod makers use their large lathe to make the impressions with a fixture attached to the cross slide that would hold the roll die but still allow it to rotate. The butt cap would be held in the jaws of the chuck on the head stock or another holding device that would still allow the cap to rotate against the roll die.
With my Sherline 4400 lathe, the option was to purchase a #8976 Micro Grinder Tool Post to hod a shaft machined to fit tightly inside this tool post with the end of it machined to fit close tolerance inside the roll die.
My raw material for this shaft was an old Harley-Davidson foot rest shaft which I chucked up in the lathe and turned to fit both the tool post and the roll die.

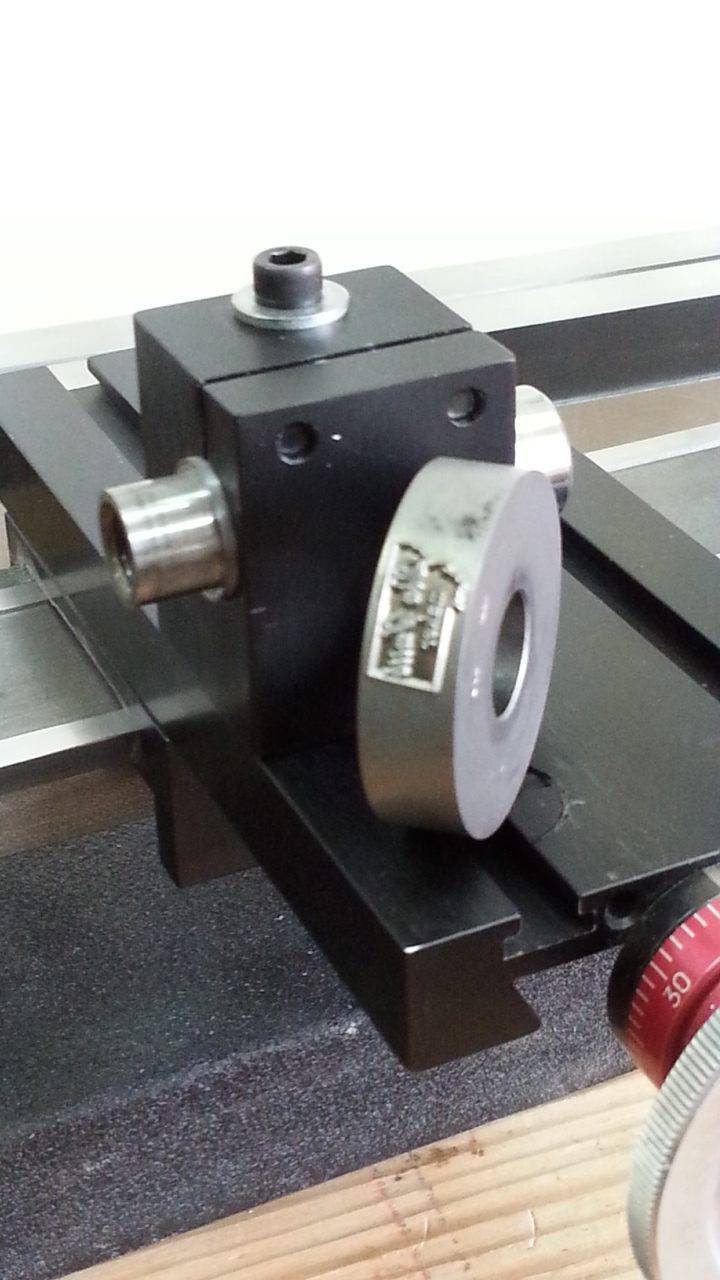


The roll marker die is pressed up against the butt cap and the impression is 'rolled' back and forth into the butt cap. You don't want to go past the die design while you are doing the imprinting otherwise the cap and the die will not be in sync. You need to finish the impression while they are pressed together.


The effect was what I wanted, although I would like the impression to be a little deeper into the metal of the butt cap.


I was holding the butt cap on the 3-jaw chuck internally. I think I will get better impression with the butt cap fitting over a turned stubb mounted inside the 3-jaw chuck. I have my raw shaft ready to turn to the correct ID of the butt caps and will turn that out and let you know the results.


